

I just love products that disappear. So, my idea was to conceal as much of the bathroom's functionality as possible. Based on my experience, achieving such a clean look usually raises a key question: how difficult is it to install all those ‘invisible’ elements? On the one hand, the hidden flush button instantly gives you a pared-back look, but…I’m sure many wonder if a PhD is needed to integrate that flush plate in tile.
The answer is no.
In theory, the process might look complex and best left to professionals. Yet with the right tools, clear instructions, and our course on cutting tiles for installation systems (and the whole Edplit team’s support), even amateurs can get the job done. You have my word for that.
What Is a Hidden Flush Button
A hidden toilet flush button from the Edplit brand is a tile-insert flush plate that integrates directly into the wall finish. In other words, it does not sit on top of it as the standard buttons do.
To achieve the illusion of invisibility, we precisely cut a piece of your wall finish (typically it’s ceramic, porcelain, or stone tile) and attach it first to the plate (comes in a package) and then to the flush button mechanism. Disguised as a wall finish, the integrated toilet flush button achieves a barely-there aesthetic. You see the same tile as the rest of the bathroom, while the flushing mechanism remains easily accessible and fully functional behind it. No protruding elements spoil the look.

All in-wall flash buttons from Edplit are compatible with the most popular concealed flushing systems:
- Grohe
- Geberit Sigma
- Geberit Delta
- Geberit Omega
- AlcaPlast
- TECE
- OLI
- JomoTech
- Viega
- Vitra
- TOTO
…and so on.
Check out our most popular products, each designed to be restful on the eye and create an uncluttered hotel-style:
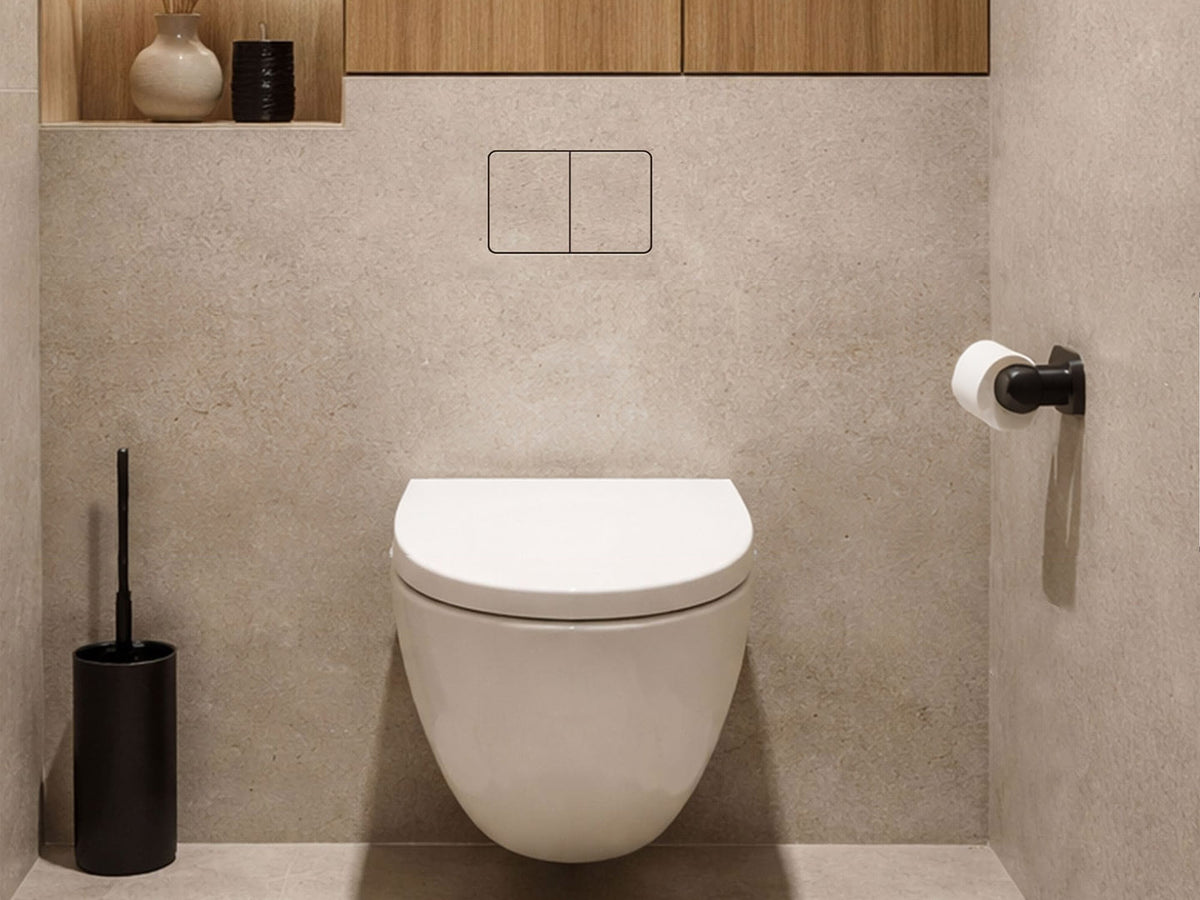
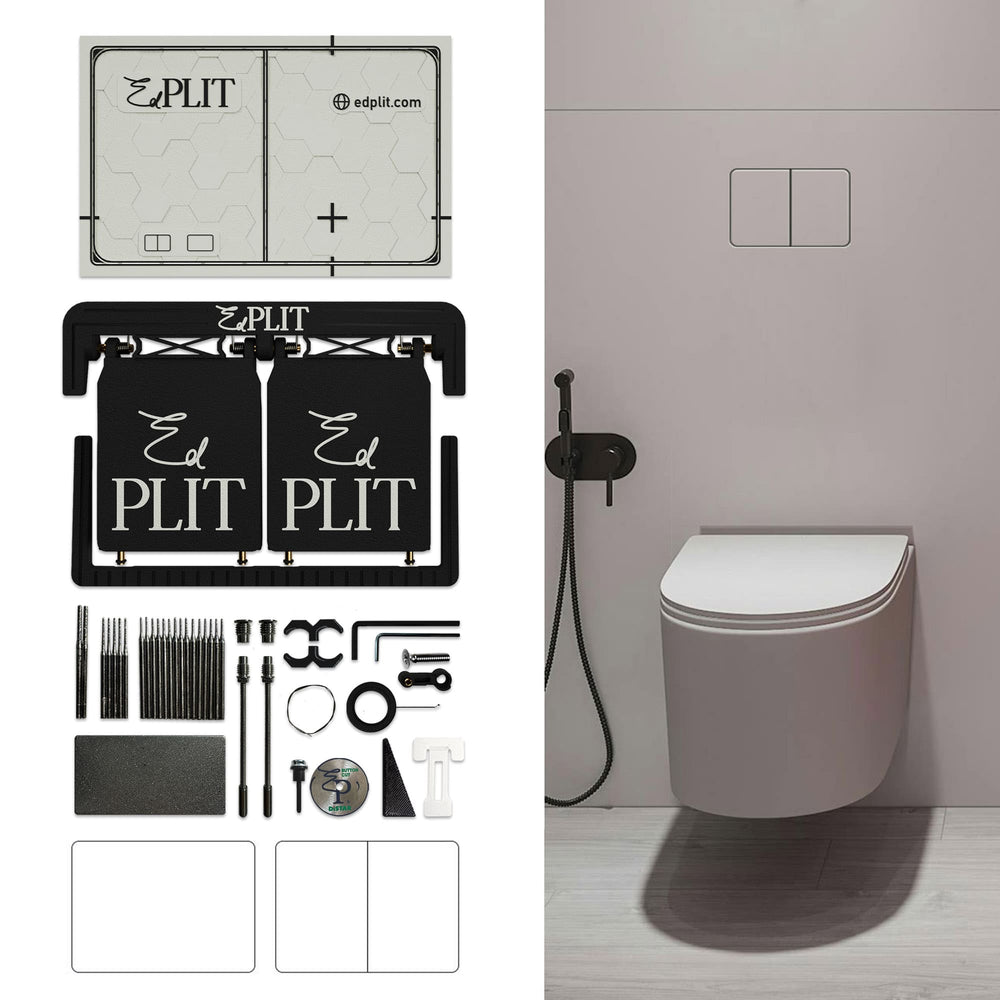
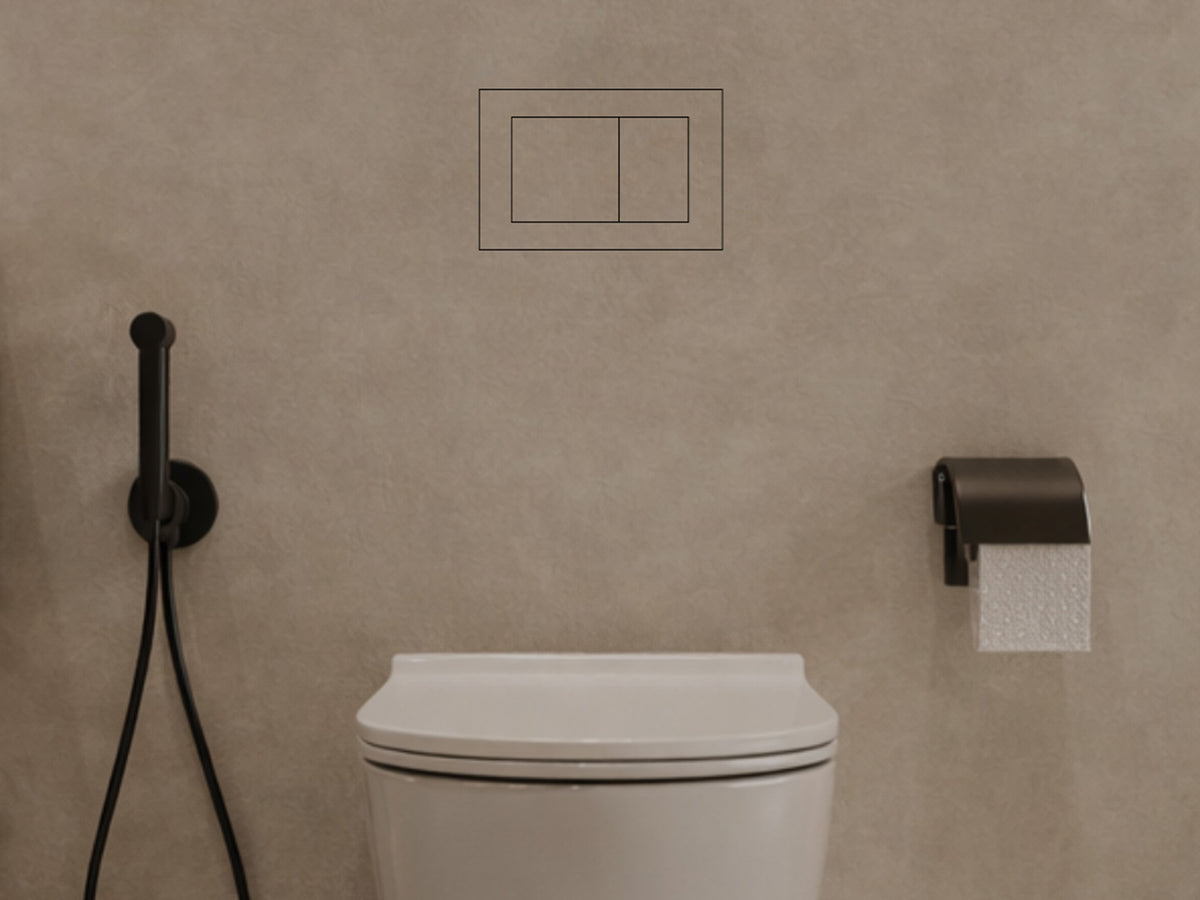
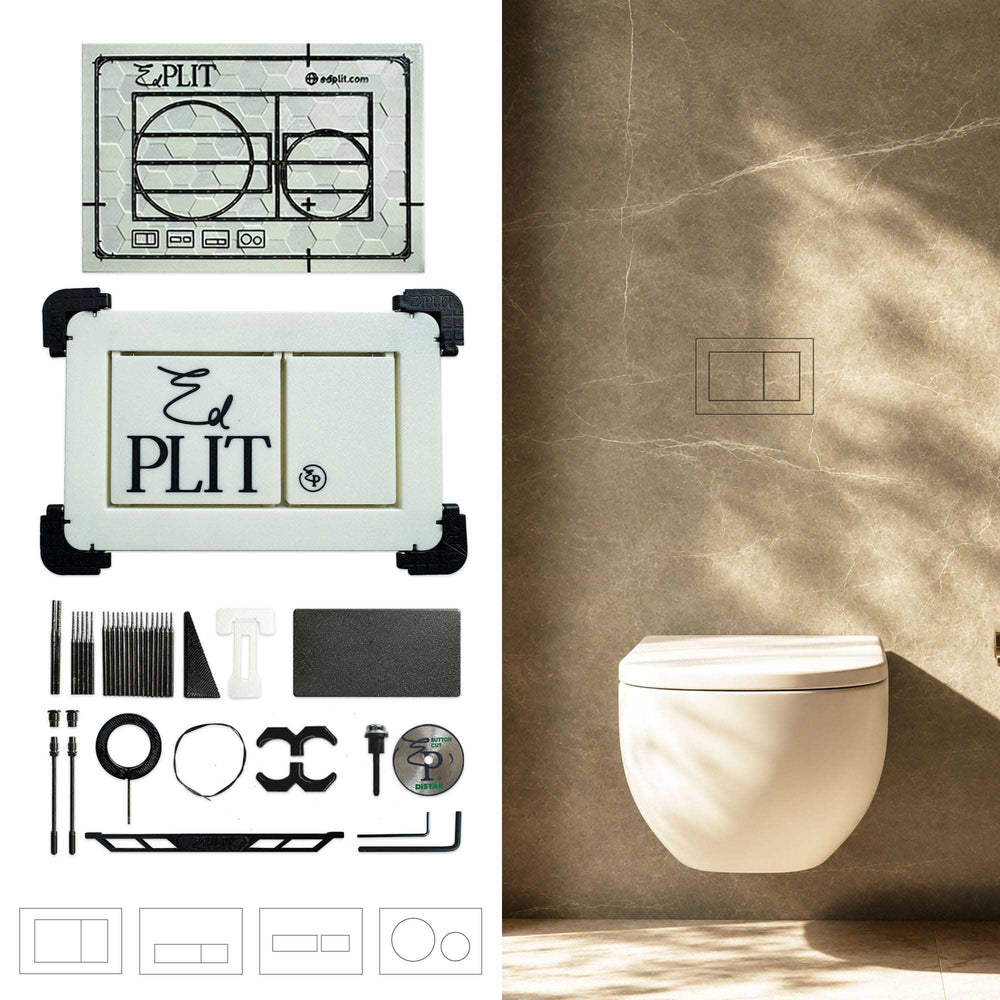
Now that you’ve seen the result, let's talk about how we get there. First come a few essential tools.
Tools Required for Hidden Flush Plate Installation
My plan was to design all installation materials compatible with one another and suitable for hidden flush-button installations by beginners. Before you install a flush plate in tile, here’s the thing: precision is critical (it matters far more than complexity!). The finish 100% depends on accurate cutting and alignment.
The list below includes all the instruments and tile cutting tools that are used in hidden flush button installation:
- Sheets of drywall for easy and quick installation.
- Tile cutting stickers to practice your button cutting skills safely and confidently.
- Diamond hole saw for tile socket cutting.
- Polishing pad to smooth, shine, or remove surface defects across different surfaces.
- Cordless long-neck angle grinder – a special machine for precision grinding.
- Precision cutting disc
- Professional tile cutting kit for precise tile cutting and finishing.

Step-by-Step Guide to Hidden Flush Button Installation
I’ve explained the theory and the tools. Now I’d like to show you how to install a hidden flush button. Of course, every project has its nuances. But the tips below are key to follow in any case to achieve a sleek aesthetic.
Step 1. Drywall Installation
The first sheet of drywall is placed adjacent to the installation and carefully aligned to ensure a stable and accurate base for the invisible flush button system. Then comes the second sheet.

Step 2. Align the Adhesive Cutting Template
Move the positioning label to the marked location and align it with the center reference lines. Check that it is properly aligned to ensure accurate installation.

Step 3. Carve Out the Flush Button Openings
Using the sticker as a guide, carefully mark the tile flush button layout. Then, using a precision rotary tool (maintain it at precisely 90°), carve out the required openings, following the template lines and leaving the corners intact. You can accommodate both rounded and right angles. To avoid disc damage, dilute it with water before use (the water helps cool the disc and reduces heat buildup and friction during the carving process).

Step 4. Do the Rounding
We provide three diamond burr sizes: start with the smallest burr to remove the top tile layer without damaging it. When you go deeper, switch to larger burrs to expand the hole progressively. Keep in mind that diamond burrs are delicate. They can chip or break, so work carefully. When you’re done with one size, remove any broken fragments before switching to the next burr.

Step 5. Remove the Sticker Carefully
Peel it away slowly to reveal the completed installation and inspect your work.

Step 6. Smooth and polish the cut edges
Take the disc and polish the surface to remove rough spots and create a clean finish. Arrange it to make it appear as an appealing display.

Step 7. Tape the Flush Plate Down
Secure the flush plate by taping it firmly in place. This protects the button when you cut through corners. Now, revisit the corners and remove any excess tile material left there.

Step 8. Trim excess material in the corners
Carefully trim away any excess material around the edges and corners of the concealed flush button opening. You can also use a diamond cutting wire for precise trimming in the corners. Remove the flush plate.

Step 9. Perfect All the Imperfections
After you’ve carefully removed the flush plate from the main tile, rotate it in your hands to check all sides. Check both the button and the hole’s edge in the tile for any rough spots, uneven gaps, or extra material.
Sand both surfaces with a rotary tool fitted with a sanding disc. Work on both the button itself and along the edge of the tile opening where it was cut. Then finish the job by hand-sanding using fine sandpaper. It helps achieve a smooth, even surface on both the button and the tile edge.

Step 10. Attach the Magnetic Corners
Attach the magnetic corners to the back of the tile as firmly as possible. Keep the glue layer as thin as possible to ensure a strong bond and accurate alignment. After the adhesive has set, trim it off.

Step 11. Glue the Flush Button Frame to the Tile
Apply a thin layer of adhesive to the back of the flush button frame. Do it in such a way that there is a minimal layer between the two materials.

Step 12. Connect the Flush Button to the Installation System
Insert the pushers into the installation mechanism, then carefully position the flush button against them. Check that it fits properly and sits flush with the tile surface without any obstruction or gaps.

Step 13. Adjust and Test the Magnetic Mechanism
Adjust the magnetic mechanism so both buttons work correctly. Press each button several times to check smooth operation and make any final adjustments if needed. If the button does not respond properly or sits unevenly, remove it for further adjustment. Use the removal hook (included in your installation kit) to carefully extract the button, make any necessary adjustments, and then reinstall it. Done.

Installing Flush Button in Tile
With a focus on discretion, our innovative tileable flush plate is all about integration into the tile surface. This is a hidden flush button tile that doesn't just become part of the wall. It becomes the wall. Instead of introducing another visible element into the bathroom, it creates an illusion of invisibility. This effect is achieved by precisely cutting a piece of the same tile used on the wall and fitting it into the flush plate system. No standard flush button can achieve it. And the best part, I think, is that the hidden tile flush plate also means you don’t need to compromise on functionality either.

Common Mistakes When Installing a Hidden Flush Button in Tile
What I learned over the years of my work is that the biggest challenge is not mounting the tiled flush plate itself, but rather working with the tile that becomes part of it. That's when most mistakes happen.
Mistake 1. Incorrect Tile Cutting Techniques (and Chipping, as a Result)
Even a small chip can happen as you cut the tile. Usually, it happens because of an incorrect cutting technique (using the wrong cutting angle, moving the cutter too quickly, or working with excessive heat during the cut). However, you can prevent it with practice and patience.
To avoid chips, we recommend:
- Using water to cool the diamond burr as you work. This reduces heat and prevents stress on the tile.
- Practicing on a spare tile first to boost your technique and get more confident as you go.
- Never rush. It causes unnecessary mistakes.
- If a chip does occur, polish the edge smooth with fine sandpaper or a polishing disc.
Our kit comes with premium quality consumable materials. They guarantee clean cutting and can be reused multiple times. Plus, using our templates, you cut precisely along the marked lines, without making mistakes.

Mistake 2. Using the Wrong Cutting Equipment
If you use a low-quality diamond disc or one that isn’t made for your type of material, the tile is more likely to chip. That’s why I always insist on using professional tools that work exactly for the tile you’re working with. If the chip happens, don’t worry, you’ll fix it (see the GIF below).

Mistake 3. Rushing
In my experience, people see what the final result looks like and try to rush through the installation process. But hidden systems are not just about how fast you install them. The complexity isn’t visible in the finished surface. It’s hidden in the preparation, alignment, and integration of the tile insert flush plate, which means taking extra time to measure everything is a must.

Mistake 4. Poor Measurement
Even a 1-2 mm mistake can ruin the look. Do not think you can “just adjust later.” All measurements should be done before. If not, the final look will still be slightly off.

Mistake 5. Ignoring Wall Flatness
Our concealed installations 100% depend on a perfectly flat base. If the wall isn’t properly leveled before the flush button gets installed, the final surface will look slightly uneven.

The hidden flush button isn’t just a detail. It’s the cherry on top of the minimalist interior. My goal was to create a bathroom where tech disappears. That's why I designed the invisible flush button so that it doesn’t remove the function, but hides it so well that nothing distracts you from the stripped-down luxury.


